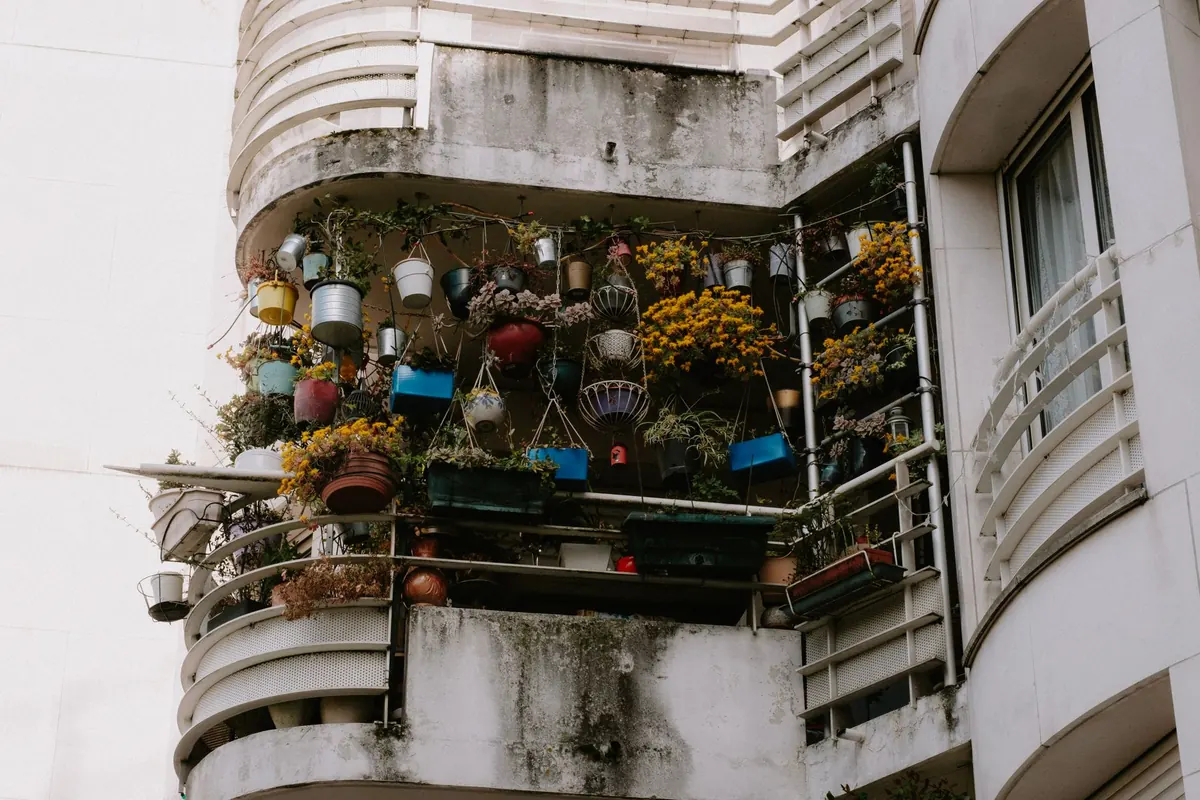
A balcony three metres long can give you more than you expect: a handful of cut-and-come-again leaves every few days, a pot of basil that keeps going until October, a cherry tomato that ends up taller than you planned. It can also become a row of dry, tired pots by July. The difference is rarely money or talent. It is the order in which you set things up. Learn what your balcony actually does before you buy anything, and the rest — containers, plants, watering — turns into a series of simple decisions instead of guesswork.
Measure the Light Before You Buy Anything
Light is the one thing you cannot fix later. A plant sold as happy in "sun or shade" will sulk in the wrong one, and no amount of feeding rescues a tomato in deep shade. So spend a day or two watching your balcony rather than guessing from the compass direction.
- Pick a day when you are home and the sky is clear.
- Note the time direct sun first touches the floor or the wall.
- Check every hour after that, and write down when the sun leaves. A quick photo each time is easier than remembering.
- Repeat in a second season if you can. A balcony that bakes in June may be quite dim by late September, and the difference catches beginners out.
Roughly speaking, six hours or more of direct sun counts as full sun, three to six as partial, and under three as shade. Be honest about which you have. Afternoon sun against a pale wall is far more intense than the same number of morning hours, because the wall radiates heat back at the leaves. Wind matters too: a balcony on a corner or a high floor dries compost fast and snaps tall stems, so note where the gusts hit and plan to shelter that end.
Choose Containers for the Space, Not the Photograph
Small pots look charming and are the most common beginner mistake. They dry out in a morning, heat up fast and give roots nowhere to go. Where you have room, go bigger than feels necessary: a 30–40 litre pot for a tomato or a courgette, a trough at least 20 cm deep for salad, and something in the 20–25 cm range for individual herbs.
Drainage and what sits underneath
Every pot needs holes in the base, and no pot should stand in a permanent puddle. If you use saucers to protect the balcony floor, empty them after watering or fill them with gravel so the base of the compost stays above the water line. Roots sitting in stagnant water rot quietly, and by the time the leaves yellow it is usually too late.
Material, weight and colour
Terracotta breathes and looks good, but dries out faster — a real advantage in a shady corner, a nuisance in full sun. Glazed ceramic holds moisture and weight. Plastic is light and cheap but heats up quickly, so avoid black pots against a south-facing wall. Fabric grow bags dry very fast and suit herbs that like sharp drainage.
Weight deserves a thought before you fill twelve large pots. Compost is heavy when wet, and a balcony is a structure with limits. If you are planning a serious collection of big containers, check with your landlord or building management rather than assuming the floor will take it. Standing pots on feet or wooden battens helps air circulate underneath and keeps the surface below drier.
Use the Vertical Space Without Blocking the Light
Walls, railings and shelves roughly double the growing area of a small balcony, but vertical gardening is easy to overdo. The rule is simple: put the tallest, thirstiest plants at the back or in the shadiest corner, and keep them from casting shadow over the low crops in front. A tomato cage in the wrong spot will shade an entire trough of lettuce.
Railing planters are excellent for herbs and trailing flowers, provided they are fixed properly — an empty box weighs little, a soaked one does not, and wind at height is not gentle. Wall shelves work well for small pots you can reach easily. A simple trellis in one corner will carry climbing beans, cucumbers or a small squash upward instead of outward.
Leave yourself a working gap. Forty centimetres of clear floor is enough to kneel, water and pick without knocking things over, and spacing pots slightly apart rather than jamming them together gives airflow that keeps mould and mildew down.
Build a Watering Routine That Fits Your Week
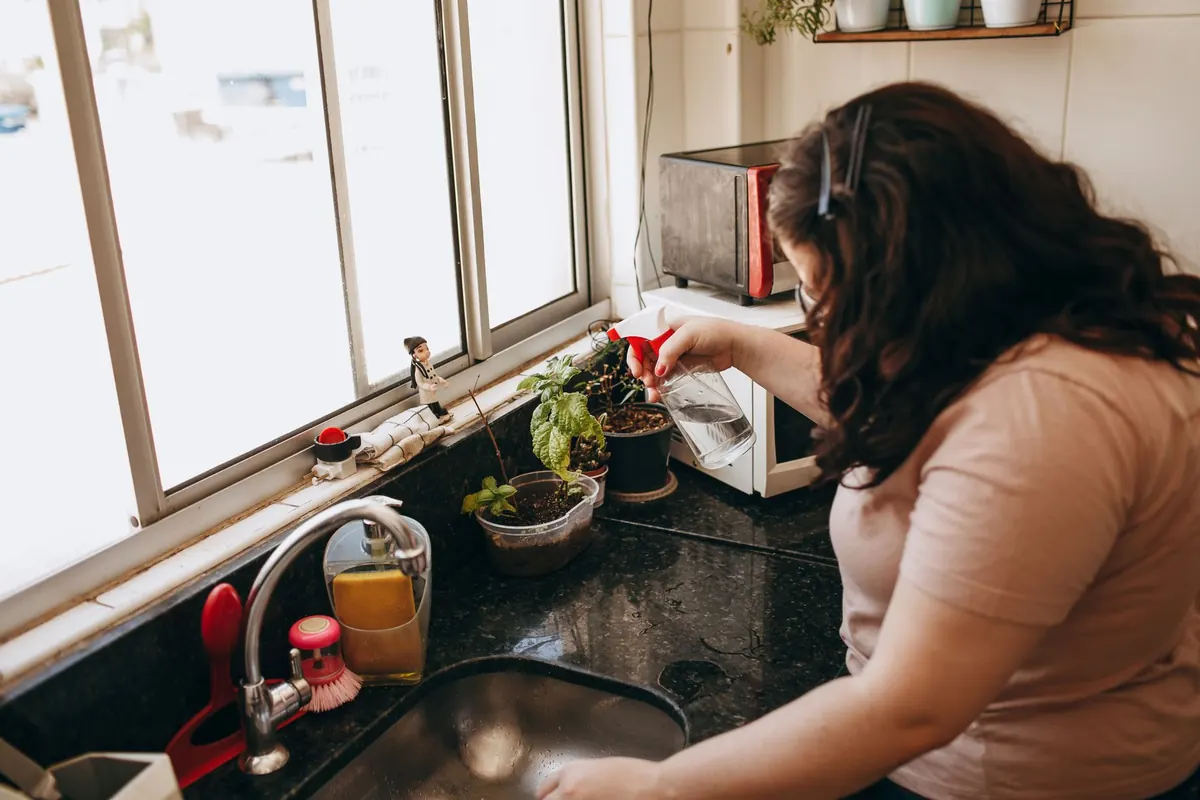
Watering is where most balcony gardens fail, and almost always because it is done little and often rather than properly and less often. Push a finger into the compost up to the second knuckle. If it is dry there, water. If it is damp, walk away.
When you do water, water thoroughly: slowly, until it runs out of the base. A daily light sprinkle only wets the surface and encourages shallow roots. Morning is the best time, since foliage dries during the day. In hot spells a small pot may need water twice a day, while a large one in partial shade may go three or four days.
- Group pots together so they shade each other's compost and share the humidity.
- Spread a centimetre of gravel or compost over the surface as a mulch to slow evaporation.
- Keep a filled can on the balcony — you are far more likely to water if there is no walk involved.
- Use self-watering containers or a clay olla for anything that struggles in a heatwave.
- Do not trust rain. Pots under an overhang or tight against a wall often stay dry through a downpour.
A Simple Starter Planting Plan
Use potting compost, not soil dug from the garden: it is lighter, sterile enough to avoid bringing in weeds and pests, and holds water properly. Fresh compost feeds for roughly a month to six weeks, after which hungry crops such as tomatoes, courgettes and beans benefit from a liquid feed every week or two. Mediterranean herbs are the exception — rosemary, thyme and oregano give better flavour in lean compost and resent rich feeding.
A workable first setup for a modest balcony:
- One large pot: a cherry tomato with basil at its feet.
- One long trough: salad leaves, sown a few seeds at a time every two to three weeks for a continuous cut.
- One railing box: chives, flat-leaf parsley and thyme.
- One corner with a trellis: climbing beans or a small cucumber.
That is five containers, which is plenty for a first year. Choose varieties you actually eat, and check the seed packet for the mature size — a "compact" tomato is a very different plant from a cordon type that wants two metres of support.
Start Small and Adjust
Give yourself a gentle first season. Week one, watch the light and note where it lands. Week two, buy three or four pots, saucers and a bag of compost, and set them up before any plants arrive. Then plant, water properly, and look at the leaves once a week — pests and problems are easy to handle when you catch them early.
Keep a short note of what worked: which corner dried out first, which pot was too small, what you actually picked and ate. Next spring you will start with real information about your own balcony instead of advice meant for someone else's.
Photo: Mathias Reding / Pexels