A shaded bed is the part of the garden most people apologise for. It sits under the fence, behind the shed, beneath a mature tree, and it gets planted with whatever survives. That is a waste. Low light is a condition, not a defect, and some of the finest foliage plants in cultivation come from woodland floors where sun arrives only in fragments. Ferns, hellebores, and hostas are the three most dependable partners for that kind of ground, and they work best not scattered but layered: tall to low, bold to fine, damp to merely cool. Get the arrangement right and the bed looks deliberate from March through November, with very little asked of you.
Read the Shade Before You Choose a Plant
Shade is not one condition. A bed under a deciduous cherry is bright in April and bone-dry by August. A strip along a north wall gets cool reflected light all day and never quite dries out. Under a dense evergreen hedge you get root-filled soil and almost no light at all. All three of the plants below cope with these situations, but they do not cope equally, so it is worth an hour of looking before you spend anything.
Note where the sun lands at nine in the morning, at noon, and at four in the afternoon. Then dig a trowel a spade's depth into the soil and squeeze a handful. If it crumbles and falls apart, you have average moisture. If it holds together like dough, you have damp ground, which suits hostas and ostrich fern but can rot a hellebore over winter. If it trickles through your fingers as dust, you have dry shade, the hardest version, and you will need to plant smaller, water patiently for two seasons, and mulch far more heavily than feels reasonable.
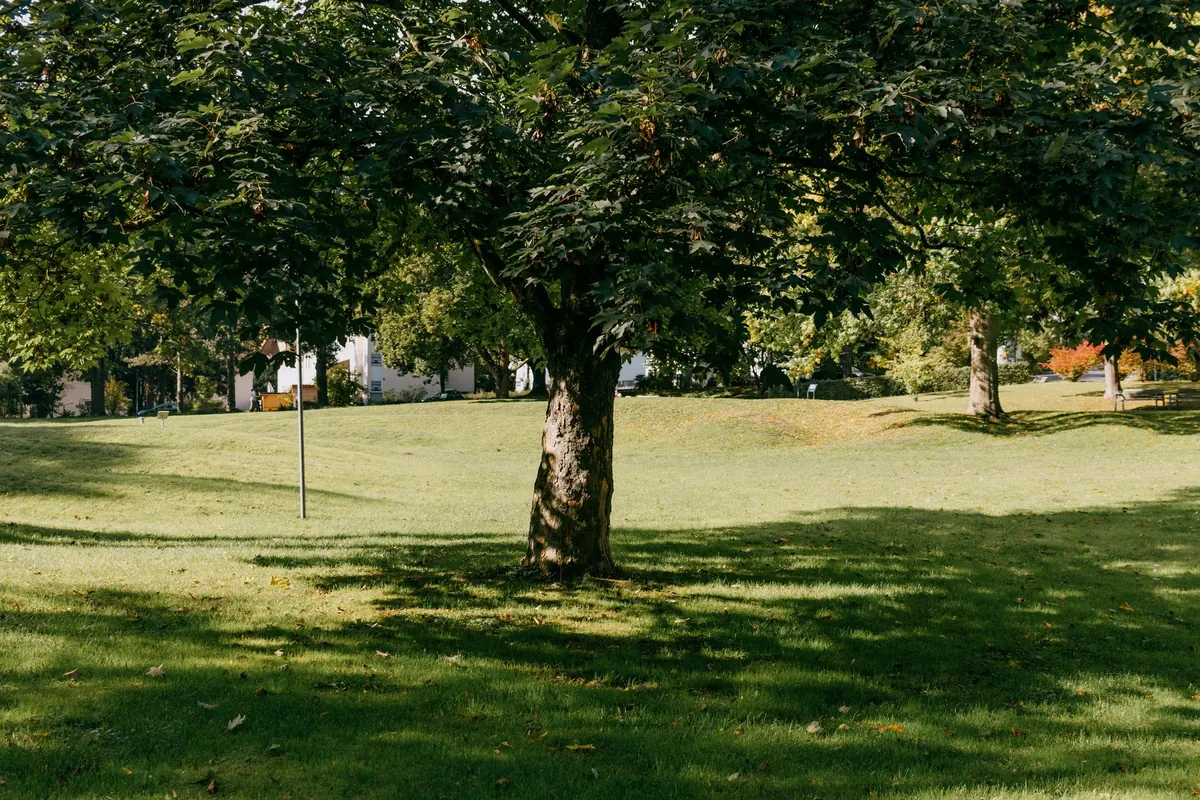
- Dappled shade under deciduous trees: the easiest, brightest option, but the driest in late summer.
- Bright north light against a wall or fence: cool, steady, and slow to dry out.
- Deep dry shade under evergreens or overhanging buildings: plant small, plant densely, and expect to water.
Build the Bed in Three Tiers
Layering is the difference between a collection of plants and a composition. The eye reads a border in horizontal bands, and a shaded bed that offers only one band feels flat no matter how good the individual plants are. Aim for three: a taller frame at the back, a mid-layer of hellebores and ferns through the middle, and a wide floor of hostas at the front.
There is a physical point here as well as a visual one. Flat ground drains badly and sheds water sideways. Raise the back of the bed by ten or fifteen centimetres with soil and compost so it slopes gently towards the lawn, and the whole border becomes better drained and easier to water properly. Plant the higher tier on that mound and the lower tier on the flat, and the bed will look deeper than its measurements suggest.
Ferns do most of the connecting work. A fern placed between a hellebore clump and a hosta crown blurs the join, hides the bare soil that appears in June, and catches what little light there is on the undersides of its fronds. Leave the front thirty centimetres for plants that spill over the edge rather than stopping politely at the line.
Texture Contrast Does More Than Flower Colour
In low light, colour fades and shape survives. A hosta leaf is broad, ribbed, and heavy; a fern frond is divided almost to the point of lace; a hellebore leaf is leathery, palmate, and wintergreen. Put any two of those side by side and both look better. Put a bold hosta next to another bold hosta and you get a green puddle.
Work in groups of three or five rather than single specimens, and vary the sizes within a group so the mass has an uneven outline. Repeat the same group further along the bed to create rhythm. Blue-leaved hostas hold their waxy bloom best out of direct sun, while gold and yellow varieties need a little morning light to colour up at all, so place them where the sun first reaches.
Hellebores, Ferns, and Hostas: What Each One Is For
Hellebores: the winter anchor
Lenten rose hybrids give you evergreen structure and flowers from late winter, when nothing else in the bed is doing anything. The flowers nod, so plant them where you will see them from a path or a window, or lift a bloom gently with a finger when you want to look inside. Set the crown at or just above soil level, never buried, and give them drainage; wet winter soil is what kills them, not cold.
Cut the old foliage back in late winter, before the new buds push through. It looks brutal for a fortnight and then it does not. Plant in threes, about forty centimetres apart, and let them settle; hellebores dislike being moved.
Ferns: soft edges and filtered light
Holly ferns hold their leaves through winter and give the bed a skeleton when the hostas have gone. Wood ferns are tougher and more tolerant of dry spells. Japanese painted fern brings a silver flush that reads well in gloom, and ostrich fern wants real damp. Plant the crown slightly high and keep mulch off it, and mark the spot in your head each spring, because ferns are late to emerge and easy to dig through.
Hostas: the floor of the bed
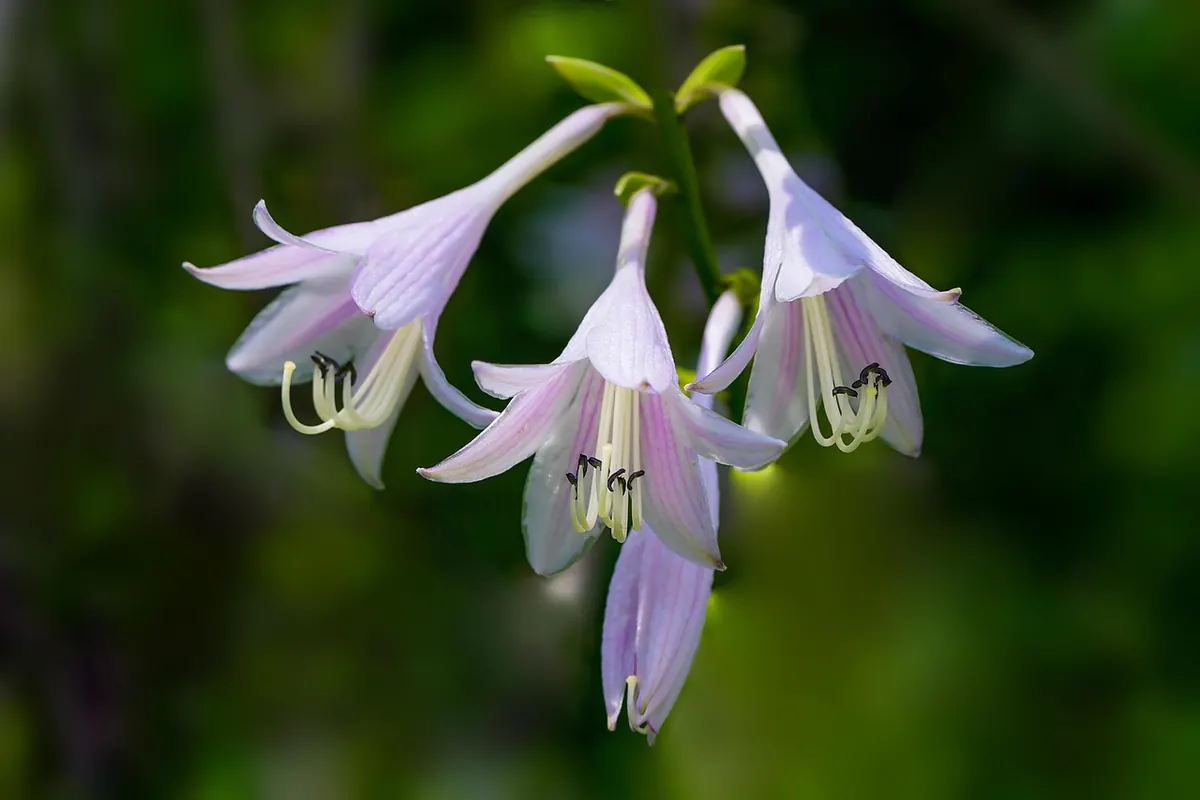
Hostas do the bulk work. Choose larger leaves for wide beds and smaller ones for edges, and plant them in drifts of three to five rather than as isolated dots. Slugs are the honest part of the conversation: water in the morning rather than at dusk, keep decaying leaves away from the crowns, and favour thick-leaved varieties, which are damaged less often. Divide clumps in early spring if they need it.
Moisture and Mulch: The Part Nobody Photographs
Most shade borders fail not from lack of light but from lack of water. Tree roots extend well beyond the canopy and will take what they want before your plants get a look in. The answer is not a daily sprinkle from a watering can, which barely wets the surface, but a deep soak every week or so through the first two summers, delivered slowly enough to sink in.
Spread five to eight centimetres of compost as mulch each spring, keeping it clear of crowns and stems. It feeds the soil, holds moisture, and suppresses weeds that would otherwise colonise the bare patches. A soaker hose laid under the mulch saves a lot of standing about with a can. Leave fallen leaves where they land unless they are smothering something small; they are free mulch and they suit these plants. In heavy clay, check in winter that water is not standing around hellebore crowns.
A Planting Order That Saves Rework
- Mark the bed edge with a hose, then cut it in with a spade before anything is planted.
- Fork compost into the top fifteen centimetres. Do not deep-dig under trees; you will damage roots and gain nothing.
- Set the pots out in position, still in their pots, and live with the arrangement for a few days before planting.
- Plant the hellebores first, as anchors, and step back to look.
- Add hostas in drifts, keeping the largest leaves towards the middle and front.
- Fill the gaps and soften the edges with ferns, smaller ones at the front.
- Water each plant in properly, then mulch the whole bed and keep the mulch off the crowns.
The First Year and After
Nothing much happens in the first season, and that is normal: these plants are building roots, not putting on a show. Judge the bed in its third spring, not its first. After that the routine is short. Cut hellebore foliage back in late winter, top up the mulch in spring, divide hostas and ferns when the clumps lose their middle, and water deeply during any dry spell in July and August. The rest is mostly a matter of standing still and looking at it.
Photo: KIMDAEJEUNG / Pixabay