A vegetable plot looks simple from the outside: soil, seeds, water, sun. Then you stand in an empty garden in March with a spade and a packet of carrot seed and realise you have about forty decisions to make before lunch. The good news is that most of them can be made in the right order, and none of them has to be perfect. What follows is a working checklist for the first year — how to read a site, what to test before you dig, how to lay out beds you can actually reach, and which crops will give you something worth eating while you learn.
Read the Site Before You Touch a Spade
Spend a full day with the plot before you commit to it. A corner that looks gloriously sunny at eleven in the morning can be in deep shade by four, and that difference decides whether you grow tomatoes or lettuce. Most fruiting vegetables — tomatoes, courgettes, beans, peppers — want six to eight hours of direct summer sun. Leaf and root crops will manage on four or five. If your best spot only gets half a day, choose accordingly instead of fighting the light.
Water comes next. A tap or water butt within a hose length saves an astonishing amount of resentment later, because carrying cans to a distant bed in July is the fastest way to give up on the whole project. Check drainage after heavy rain: if puddles sit for more than a few hours, that ground needs raising or draining before anything else happens.
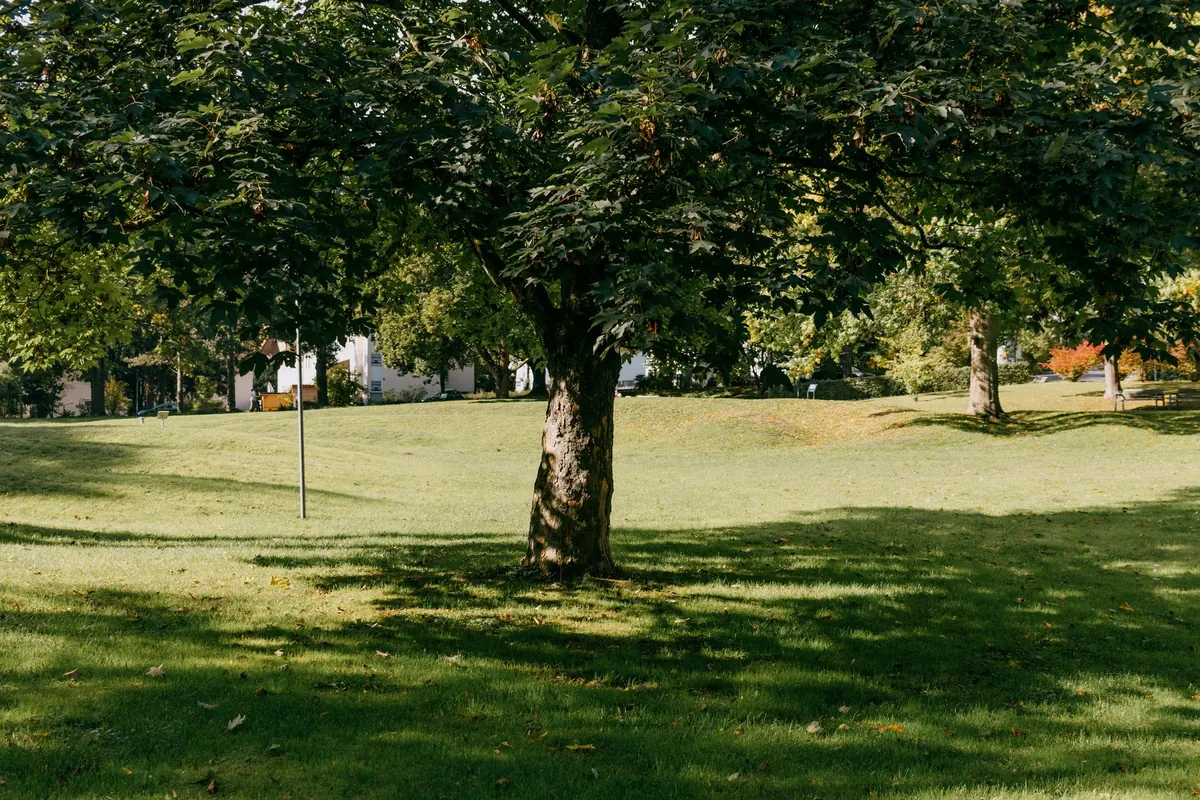
Then look up and around. Strong prevailing wind will snap tall crops and dry soil quickly, so note where a hedge, fence or building offers shelter — without creating a still, frost-pocket corner. Also look down: established tree roots will steal water and nutrients from any bed within a few metres of the trunk.
If the ground has a history you cannot vouch for — old industrial use, years of weedkiller, suspicious rubble under the turf — grow in raised beds with imported topsoil for the first seasons and consider a professional soil test before planting food crops directly.
Test the Soil: Two Simple Checks
You do not need a laboratory to learn the two things that matter most: what your soil is made of, and how acid it is.
The jar test. Fill a straight-sided jar one third with soil, top it up with water, add a pinch of dishwasher powder, shake hard for a minute and leave it to settle for a day. Sand drops first, then silt, then clay. The proportions tell you what you are working with. Sandy soil drains fast and dries out; clay holds water and warms slowly. Neither is a problem, only a fact to plan around.
The pH check. A simple home kit is accurate enough for a garden. Most vegetables are happiest between 6.0 and 7.0. Below that, add garden lime in autumn according to the packet, and retest before adding more. Above 7.0, generous compost and mulches do more good than anything drastic.
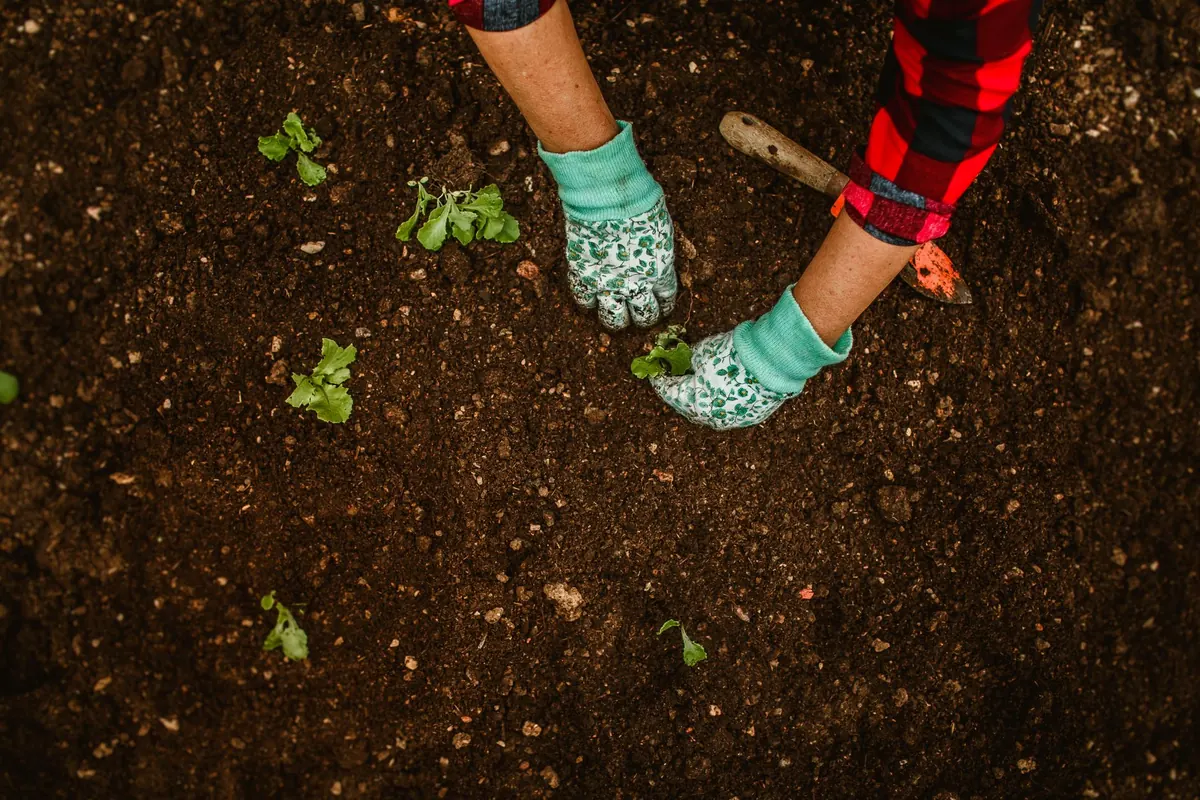
While you are there, dig a spade-depth hole and count the earthworms. A handful or more in a spadeful is a good sign of living soil. Whatever the result, the universal fix is organic matter: spread five to eight centimetres of well-rotted compost over the surface each year and let the worms take it down. Do not dig it in deeply — lay it on top.
Lay Out Beds You Can Actually Reach
The most common first-year mistake is turning over the entire garden. A bed of roughly 1.2 metres by 3 metres is a serious amount of growing space and, crucially, you can reach the middle from either side without standing on the soil. Compaction from feet is the quiet killer of small plots.
- Bed width: 1.0–1.2 m, measured to the path edges.
- Path width: 45–60 cm, wide enough for a wheelbarrow and a kneeling pad.
- Orientation: running beds north to south gives the most even light, though it matters less than good sun overall.
- Number of beds: three or four, so you can rotate crops between them year to year.
- Surface: woodchip or grass paths, laid before you plant, not after.
Raised beds suit poor or heavy ground and are kinder to backs; in-ground beds suit anyone with decent soil and a tight budget. Both work. What matters is that the layout is fixed enough to build a rotation on: keep a rough plan of which family sat where — brassicas, legumes, roots, potatoes — and shift each group one bed along each year.
Plan the First Season in Layers
Grow what you actually eat, and be honest about it. A row of chard is a beautiful thing and a terrible thing to have twelve kilos of if nobody in the house likes it.
Split the season into three layers. The first is quick wins sown direct in early spring: radish, spinach, early lettuce, broad beans and peas. The second is the main summer planting after the last frost: courgettes, French beans, beetroot, chard and carrots, plus bought-in tomato and pepper plants if you have no greenhouse. The third is the autumn layer: kale, winter salad, and garlic set in late autumn for next July.
- Sow a short row of lettuce or radish every two to three weeks rather than all at once — you want a supply, not a glut.
- Check spacing on the packet and believe it. Crowded seedlings never size up.
- Buy seedlings of anything slow or fussy; sow the easy, fast crops direct.
- Leave one bed, or half a bed, purely for experiment. That is where you learn the most.
Set a Weekly Rhythm
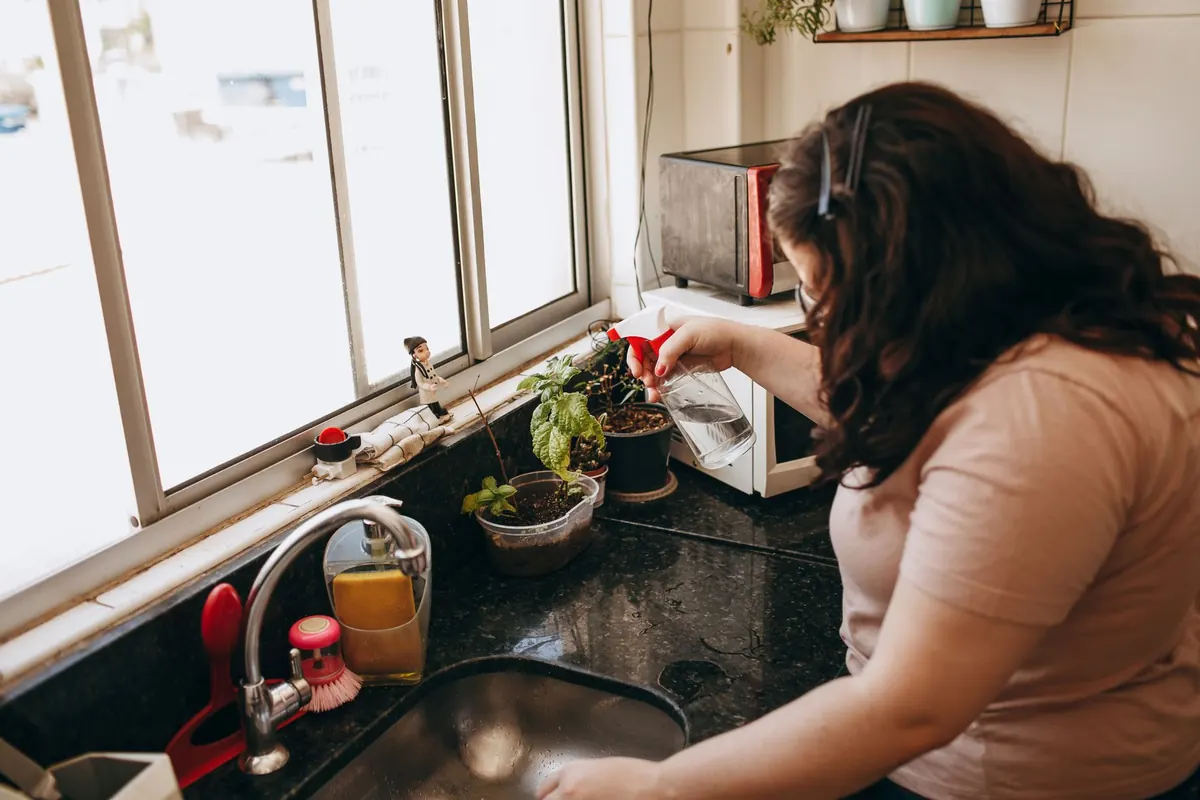
Water deeply twice a week rather than sprinkling daily; a good soak sends roots down, a light daily flick keeps them at the surface. Water in the morning, aim at the soil rather than the leaves, and mulch with five to seven centimetres of compost or straw to hold the moisture in.
Then walk the plot once a week with a bucket. Pull weeds while they are small, pick off slugs in the evening, note yellowing leaves and anything that has bolted. Ten minutes of looking prevents most of the disasters that seem sudden. Keep a rough diary — what you sowed, when, and how it did. It will be the most useful thing you own by the second spring.
The First Season Is a Draft, Not an Exam
Expect losses. Something will be eaten, something will fail to germinate, and at least one crop will bolt in a heatwave you could not predict. That is normal and not a verdict on your ability. Aim for a first year where the soil is better in October than it was in March, the beds are laid out sensibly, and you have learned which three crops you genuinely want to grow again.
Start small, test before you dig, build paths wide enough for a barrow, and sow little and often. Everything else — rotation, propagation, varieties, the perfect compost recipe — can arrive in year two, once the plot is already feeding you something.
Photo: Helena Lopes / Pexels